In this tutorial, we will guide you to configure BurpSuite proxy configuration on two different popular web browsers namely Firefox and Chrome. The chrome guide can be used for other Chromium based browsers as well.
But before, diving into configuration of web browsers, we need to install BurpSuite.
BurpSuite Installation
- Navigate to BurpSuite downloads page. (Note: Portswigger is a brand who developed BurpSuite).
- From the dropdown select
Burp Suite Community Edition, select Operating System of your choice, and hitDownload. If you have a license then downloadBurp Suite Professionaledition. - Once downloaded, install BurpSuite
- On Linux, open terminal and provide the execute permission to BurpSuite by using
chmod +x burpsuite*.sh. Now execute the appropriate file using./burpsuite*.sh. And follow the installation steps. - On Windows, open the downloaded
.exefile and follow the installation steps. - On MacOS, drag the
.dmgfile to/Applicationsfolder to install.
- On Linux, open terminal and provide the execute permission to BurpSuite by using
BurpSuite is installed successfully, now let’s configure the web browser of our choice to start intercepting the web requests.
Configuration on Firefox
-
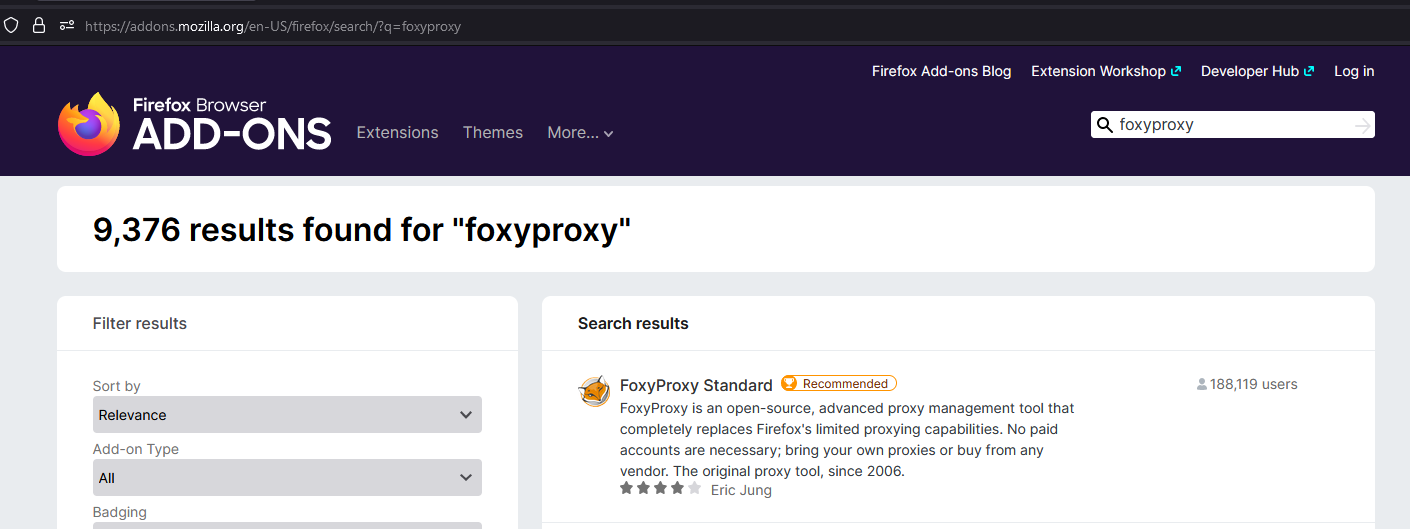
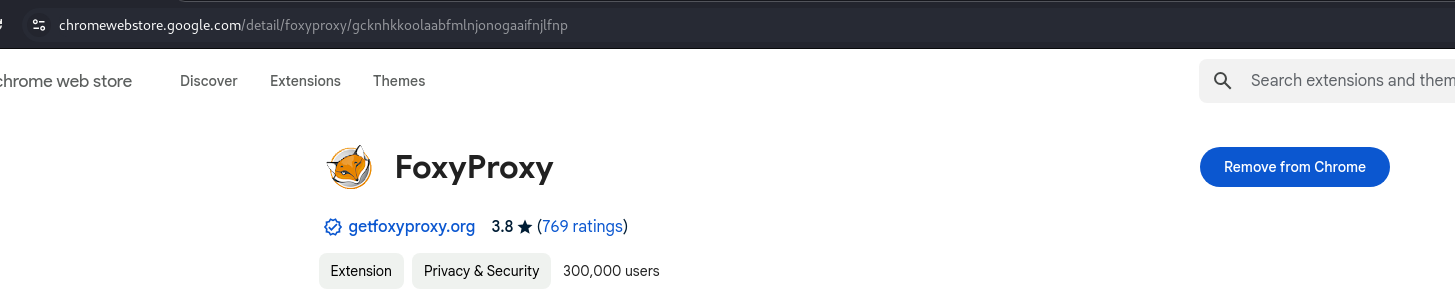
For requests interception on the web browser, we need to install a proxy extension which can help us forward the requests to BurpSuite instance. Let’s install foxyproxy extension .
-
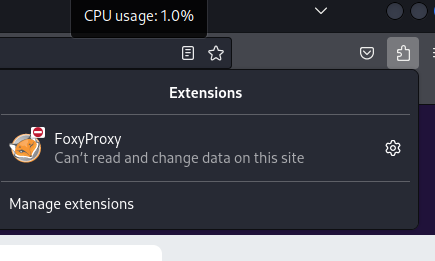
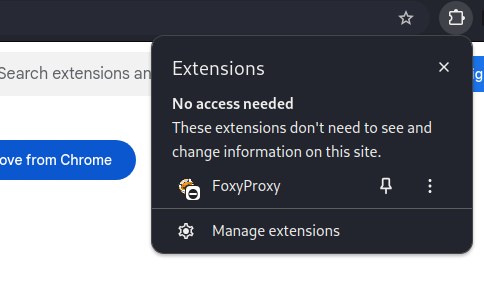
Once the foxyproxy is installed in the browser. Go to extension tab of the browser where we can see the foxyproxy extension as shown below
-
Once the foxyproxy is visible click the FoxyProxy extension then click the
Optionbutton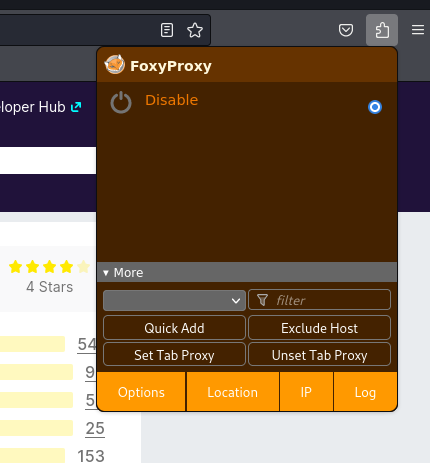
-
On clicking the option button, the foxyproxy will open up its configuration. Go to the
Proxiestab configure the hostname to127.0.0.1, port to8080(Default BurpSuite port) then click onSave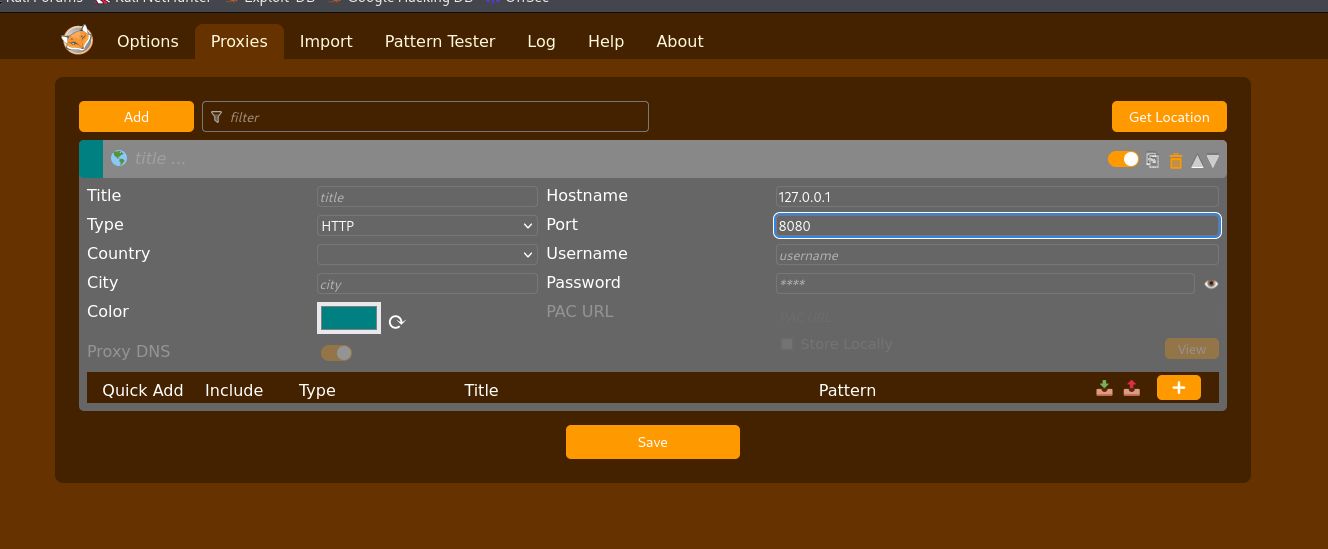
-
Now click on the Foxyproxy extension and enable the
127.0.0.1:8080to connect the browser to the burpsuite via port8080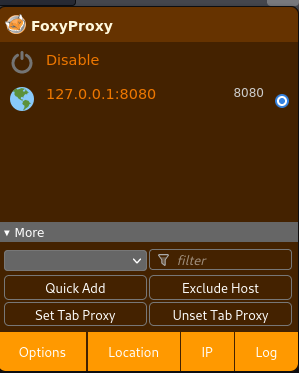
-
Fire up the burpsuite and clicked on
Next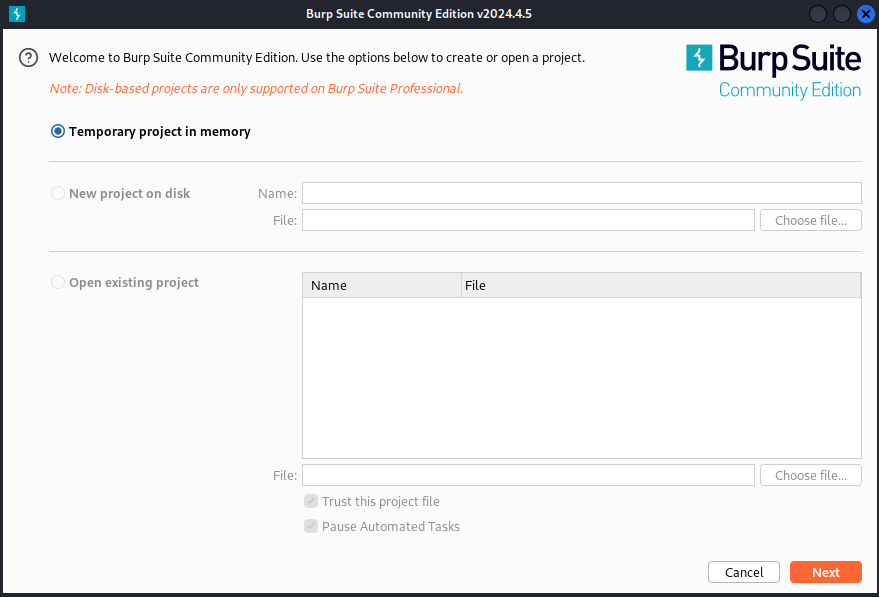
-
Next click on
Start Burpto startup the burpusite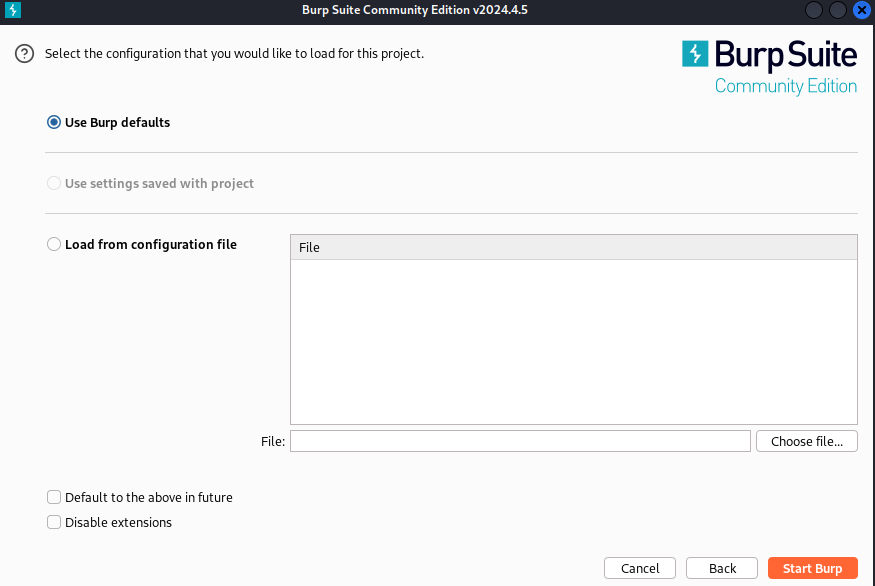
-
To configure the burpsuite with the browser, the burpsuite should be able to listen to the port
8080on its local address i.e127.0.0.1which can be done by going toProxy→Proxy settings→Edit→Bindingthen change the port to which the browser i.e foxyproxy is trying to connect, in our case its8080and localhost address127.0.0.1then clickOkas shown below.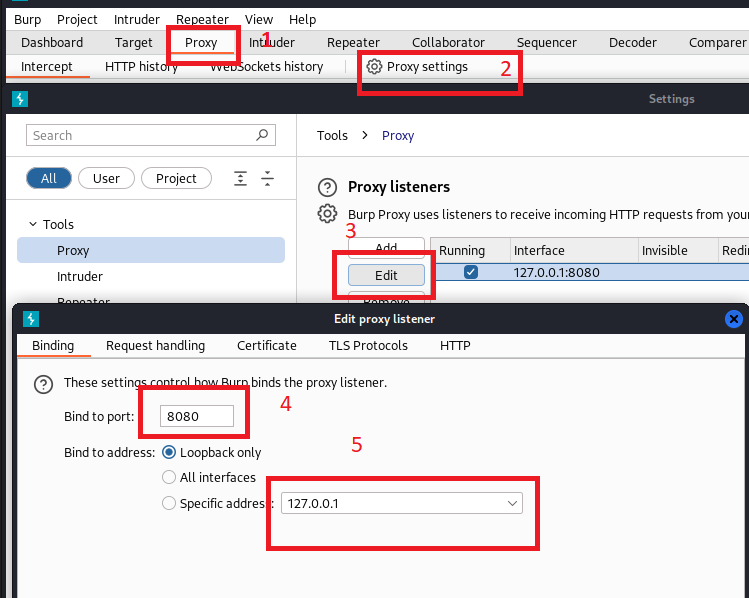
-
Now Click on the
Intercepttab and click onIntercept is offto turn the Interception On.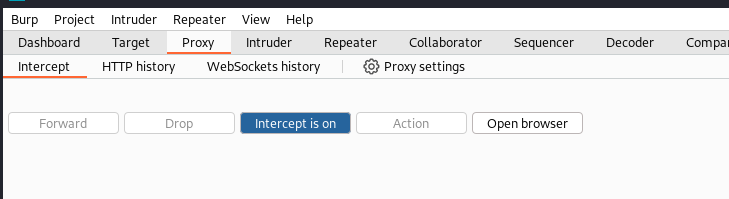
-
Now in the browser open
http://burp/in the browser and click onCA Certificateto download the certificate of the burpsuite which will downloadcacert.derfile.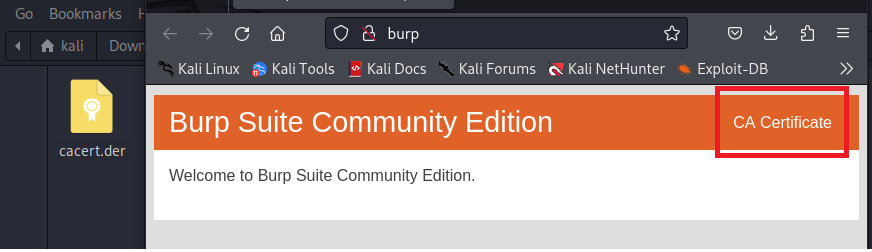
-
In the browser type
about:preferenceswhich will open up the preferences window, now search forcertificatesand click on theView Certificatesbutton.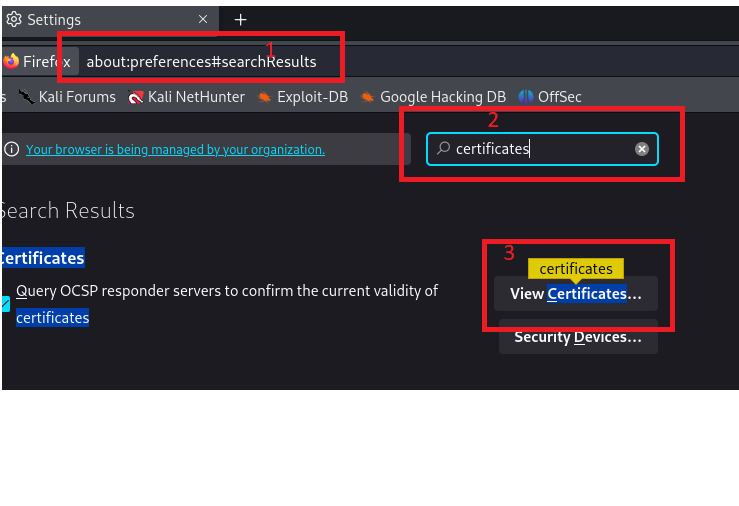
-
Now click on
Importthen browse to the folder in which certificate was downloaded and select the certificate, and then clickOpen.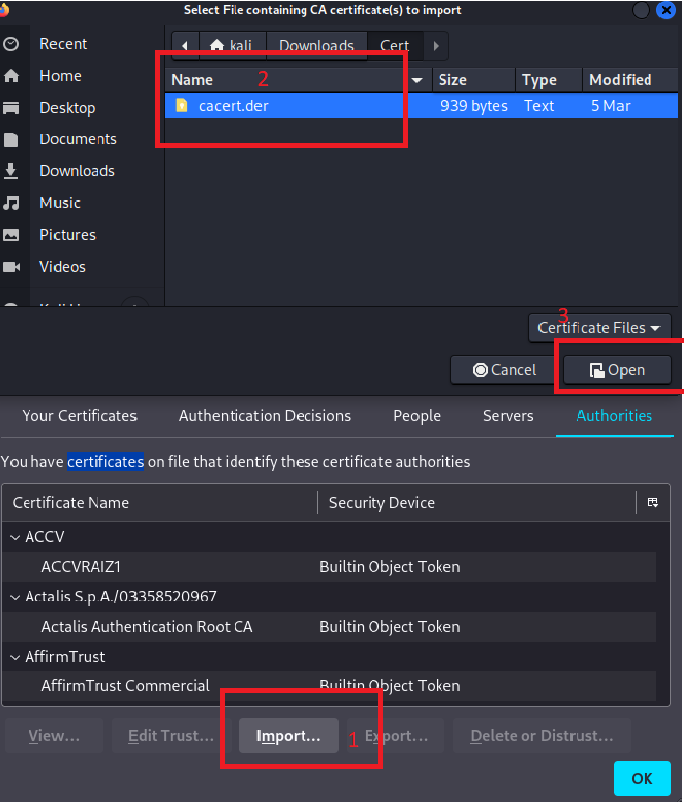
-
After opening the certificate it will prompts us to trust the certificate. Check the boxes and click
Okas shown below:
-
The certificate is installed successfully, Now navigate to
https://google.comand on the intercept tab we can see our request being intercepted.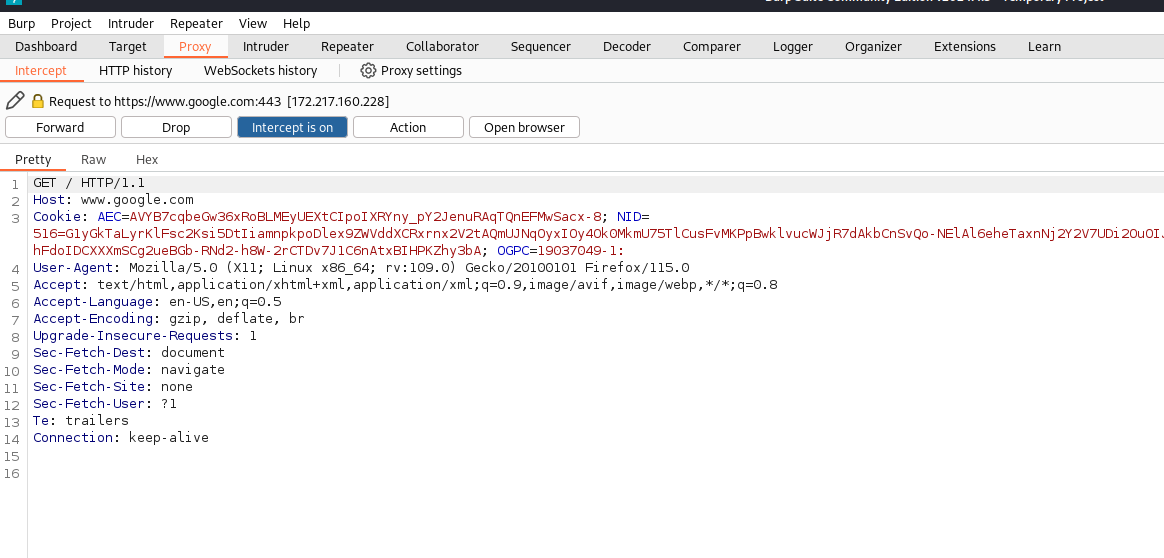
Burp Suite configuration is completed for Firefox. Now, let’s try to configure BurpSuite on Chrome browser (or any Chromium browser).
Configuration on Chrome
-
For requests interception on the web browser, we need to install a proxy extension which can help us forward the requests to BurpSuite instance. Download the foxy proxy from the chrome web store .
-
Once the foxyproxy is installed in the browser. Go to extension tab of the browser where we can see that foxyproxy extension.
-
Once the foxyproxy is visible click the FoxyProxy extension, then click the
Optionbutton.
-
On clicking the option button, the foxyproxy will open up its configuration. Go to the
Proxiestab configure the hostname to127.0.0.1, port to8080(Default BurpSuite port) then click onSave.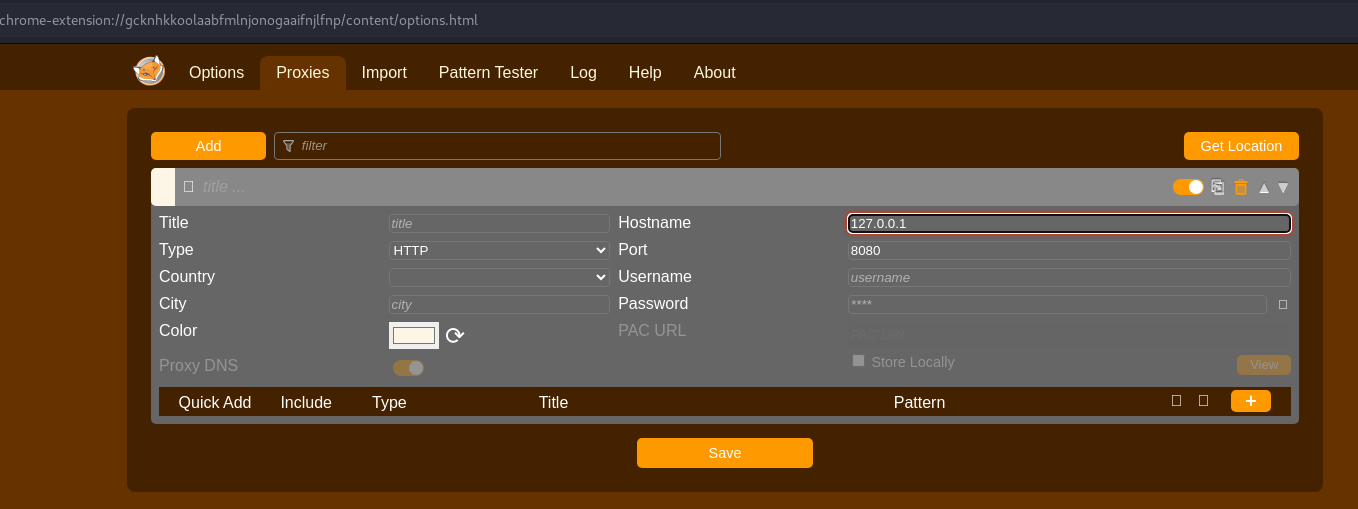
-
Now click on the Foxyproxy extension and enable the
127.0.0.1:8080to connect the browser to the burpsuite via port8080.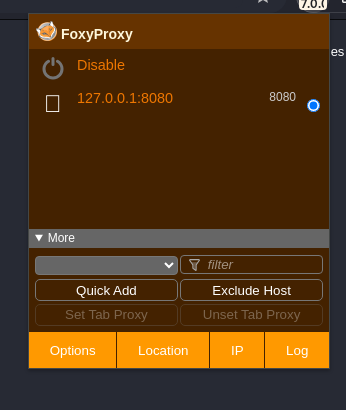
-
Fire up the burpsuite and clicked on
Next. -
Next click on
Start Burpto startup the burpusite. -
To configure the burpsuite with the browser, the burpsuite should be able to listen to the port
8080on its local address i.e127.0.0.1which can be done by going toProxy→Proxy settings→Edit→Bindingthen change the port to which the browser i.e foxyproxy is trying to connect, in our case its8080and localhost address127.0.0.1then clickOkas shown below. -
Now Click on the
Intercepttab and click onIntercept is offto turn the Interception On. -
Now in the browser open
http://burp/in the browser and click onCA Certificateto download the certificate of the burpsuite which will downloadcacert.derfile.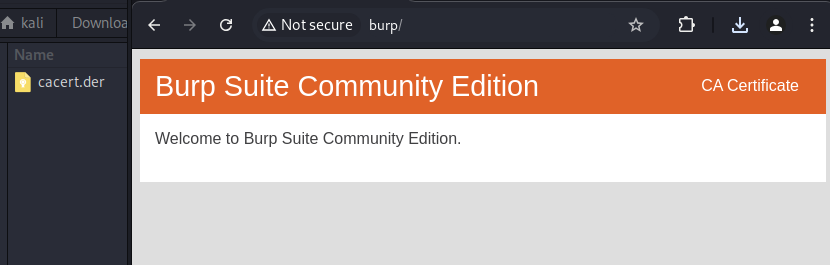
-
In the chrome browser type
chrome://settings/?search=certificateswhich will show found results in security.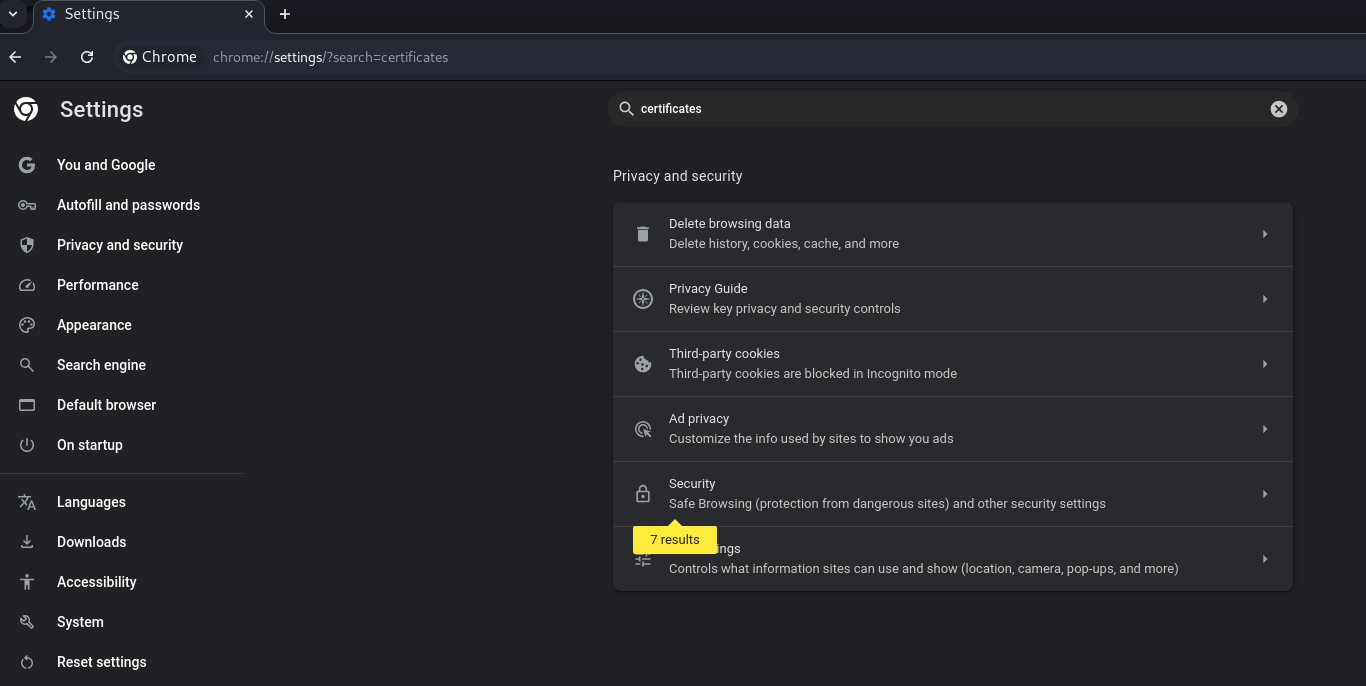
-
Click on to the security and scroll down where we will find
Manage certificates.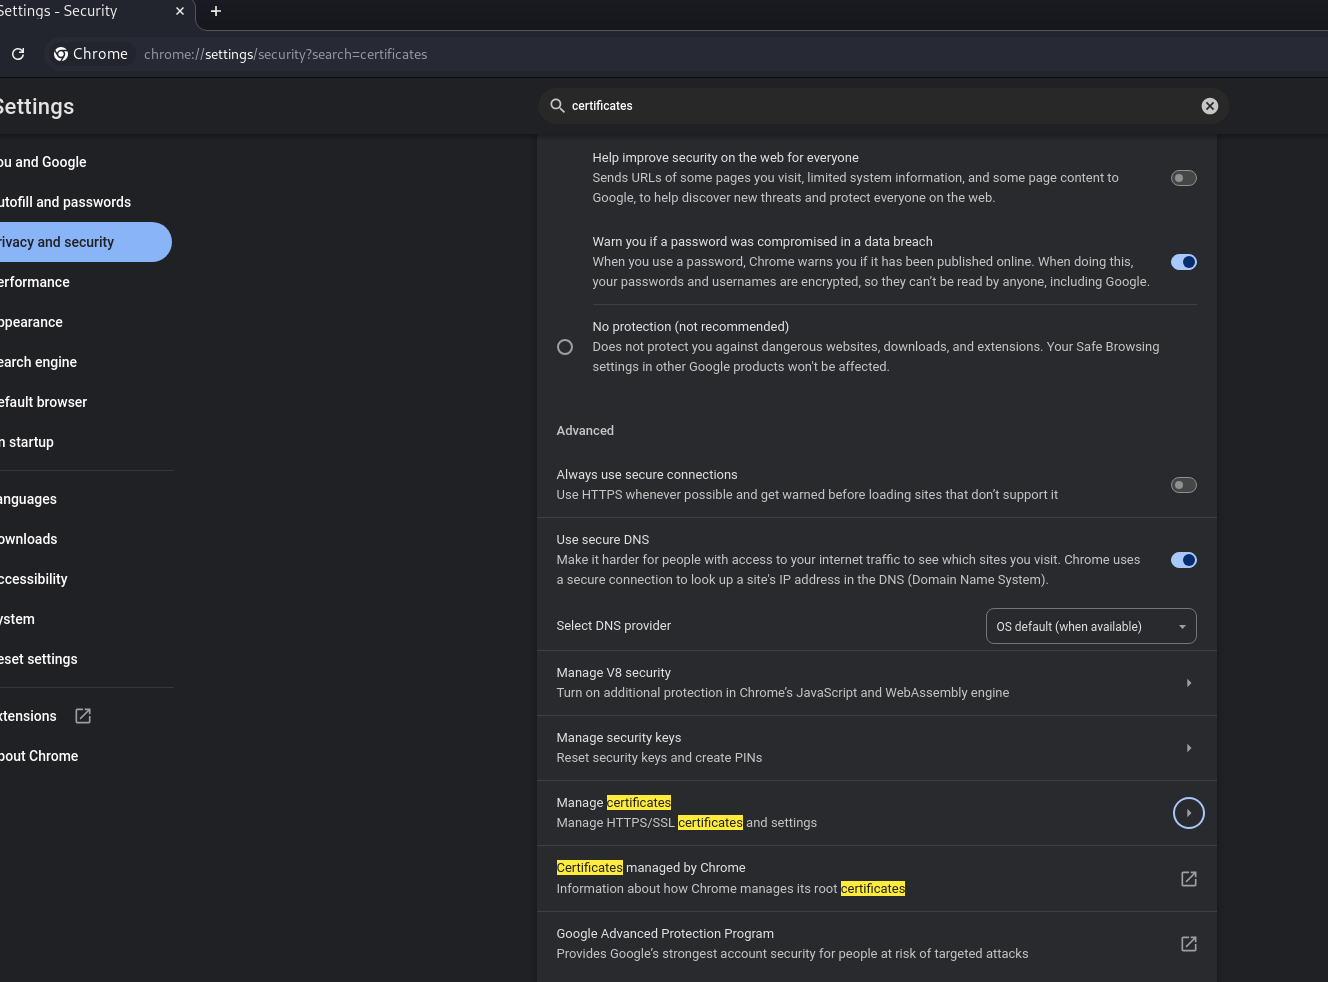
-
Go to
Authoritiestab then click onImportthen browse to the folder in which certificate was downloaded and select the certificate, and then clickSelect.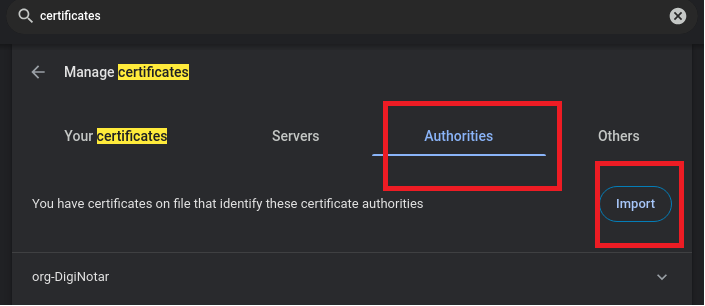

-
After opening the certificate it will prompts us to trust the certificate. Check the boxes and click
Okas shown below.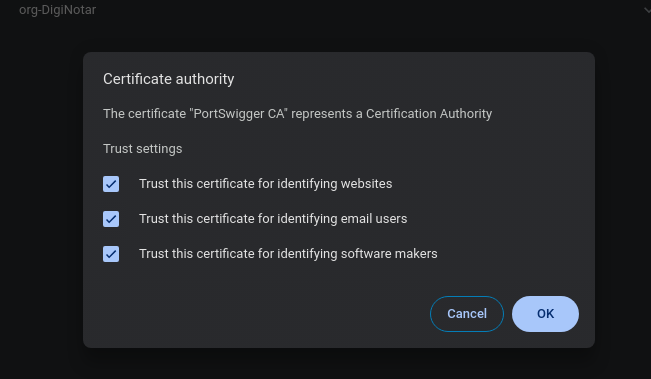
-
The certificate is installed successfully, Now navigate to
https://google.comand on the intercept tab we can see our request being intercepted.
Burp Suite configuration is completed for Chrome browser.