Development containers or in short Dev Containers allows a developer to run a development environment (along with IDE) in a containerised environment.
There are various benefits of using dev containers in every day or high purpose development. Some of them are:
- No dependency conflicts between projects: Each project can run different version of libraries and can run smoothly, as many languages does not have support for creating virtual environments like Python.
- Run anywhere: The development environment can be run locally or on a remote machine which can be on a public or a private cloud.
- Portability: Same
Dockerfileusage will allow the same dependencies installation for development, testing and production environments.
There are various IDEs which directly supports devcontainers including Visual Studio Code, Intellij IDEA etc. For the purpose of this tutorial we will be using Visual Studio Code.
devcontainers in Visual Studio Code
Before moving to the rest part of tutorial series, we will need Visual Studio Code installed in our system. You can refer to official VS code docs for platform-specific installation:
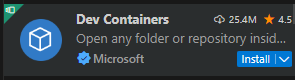
After successful installation of VS Code, we need to install the Dev Containers extension from VS Code Marketplace named Dev Containers.
To install the extension, open VS Code. You will be prompted with a Welcome file, like below:
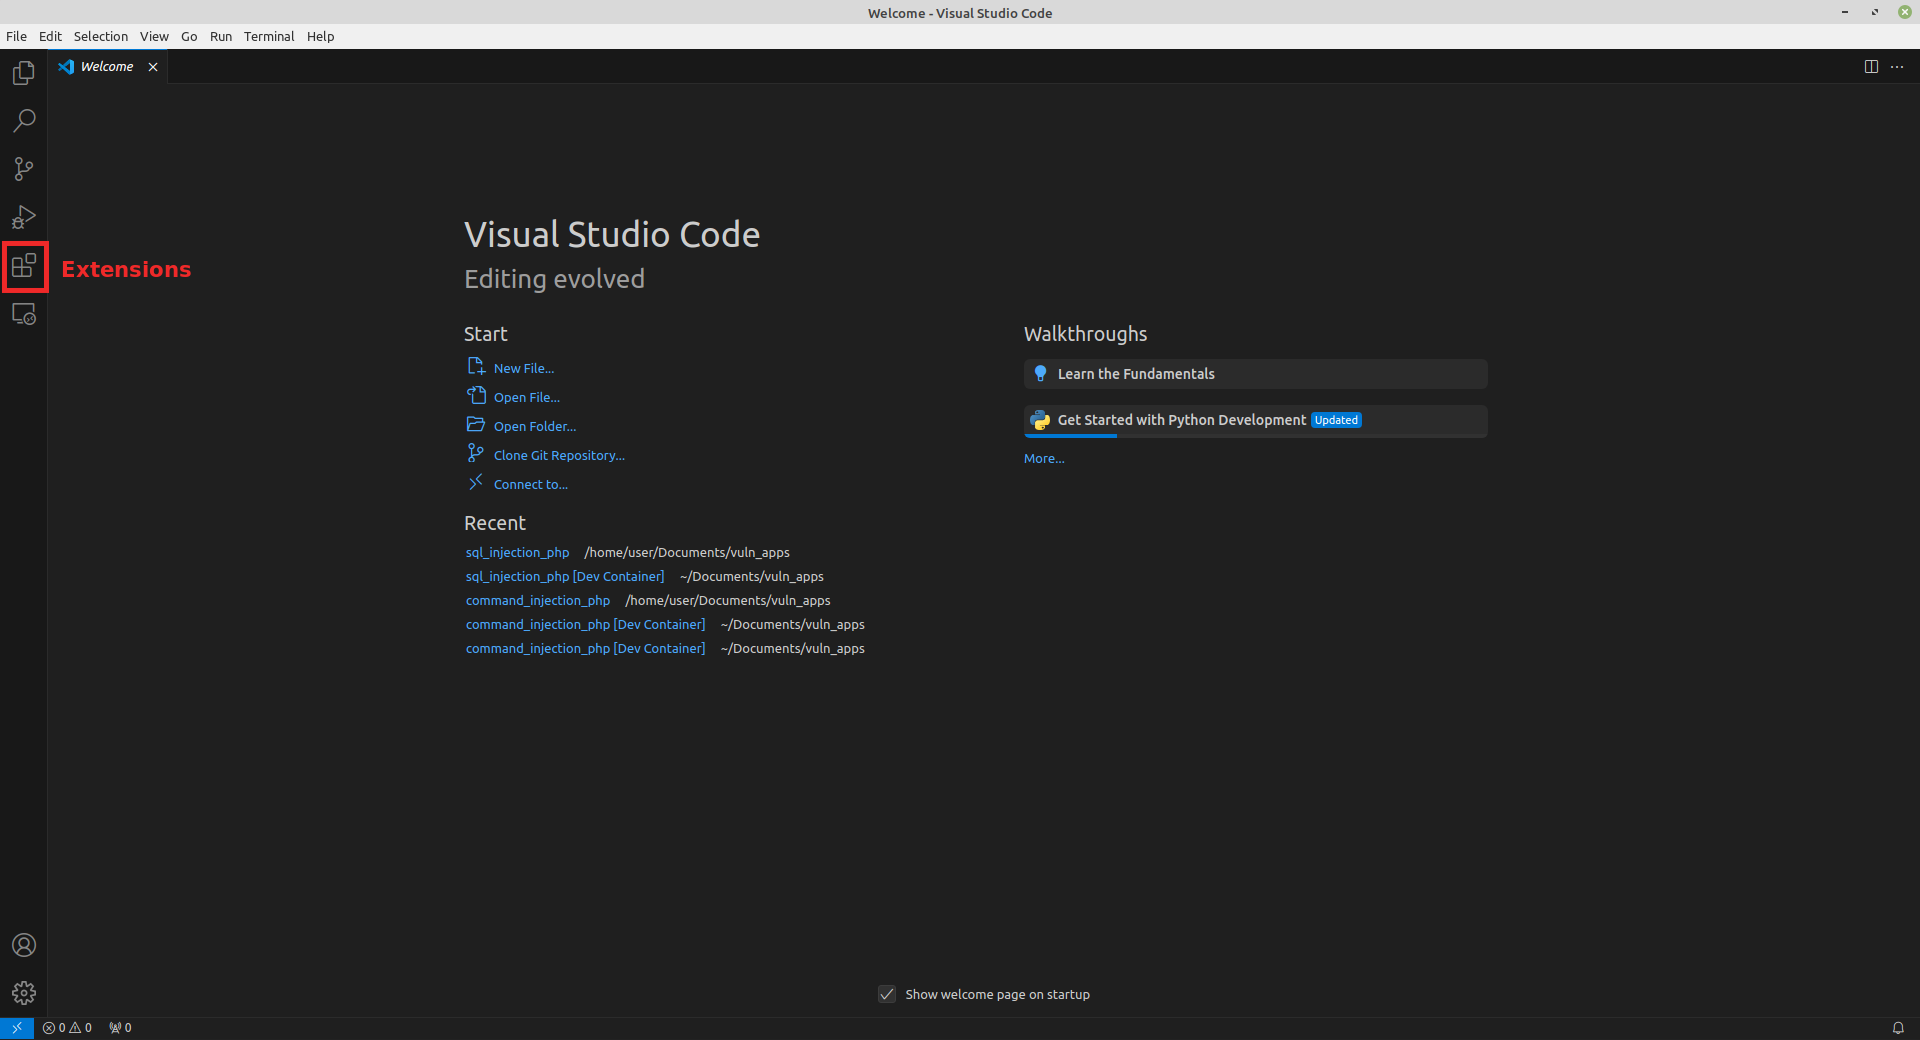
Click on the Extensions icon from Sidebar or use Ctrl-Shift-X in Linux or Windows and ⇧⌘X for macOS keyboard shortcut. A window will open up in the sidebar showing currently installed extensions.
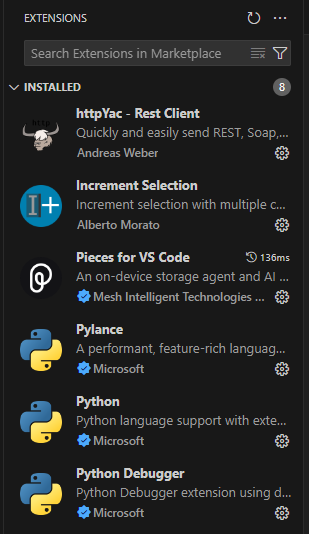
Search for term “Dev Containers” and install the following extension provided by Microsoft.
Once done, we are ready for using devcontainers.
Note: devcontainers requires a container runtime to be pre-installed in your computer without any sudo permissions. To install a runtime environment, Docker is a good starting point. You can find out the installation process at Docker Docs.
In the next part we will learn about Basics of devcontainers.